
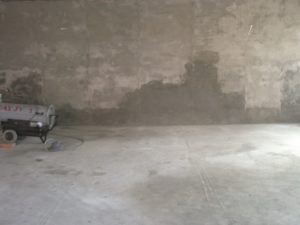
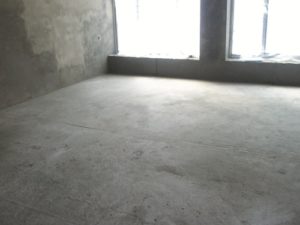
1. Surface preparation
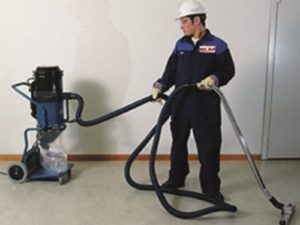
Before starting the installation of the Heath Plus heating system, it is necessary to check the roughing floor for any unevenness (there should be no unevenness above 3 mm on 1 m2 of the basement), remove any irregularities if they are present. It is also necessary to thoroughly clean the floor surface, remove construction debris and remove excess dust. It is recommended to sweep and vacuum the floor surface before starting the installation work.
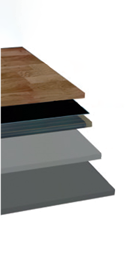
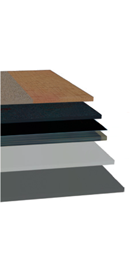
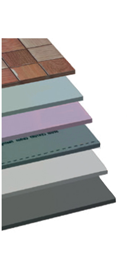
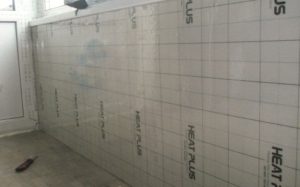
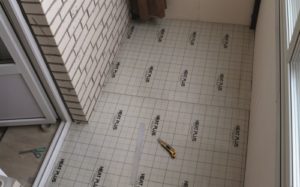
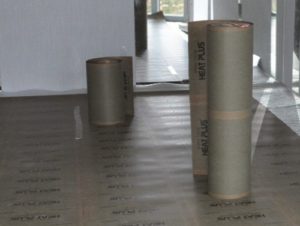
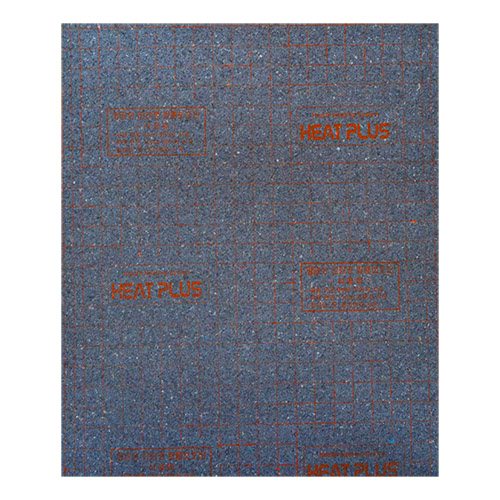
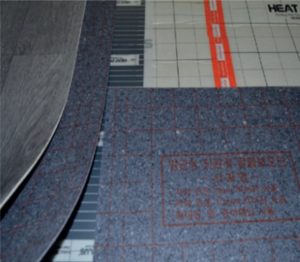
2. Installation of thermal insulation material
For heat and waterproofing from the rough floor, as well as re-reflecting the lower part of the radiation of the infrared film, the entire insulating layer is laid on the entire floor surface.
As a thermal insulation layer for light and floating coatings (linoleum, carpet, laminate, parquet) it is recommended to lay a heat-insulating and heat-reflecting substrate - E-pex.
An alternative option is the use of Izolon PPE as a substrate.
If under the rough floor there is a layer of insulation and additional floor insulation is not required, you can use Strotex AL90 as a heat-reflecting substrate. In this case, the heat-reflecting layer is laid only in the locations of the infrared film with a margin of 10-15 cm along the perimeter.
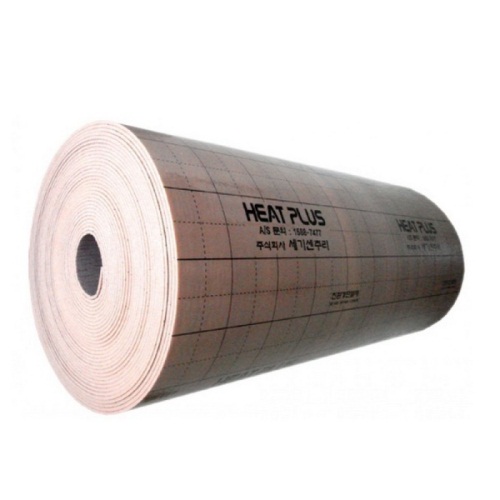
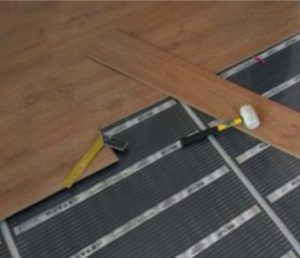
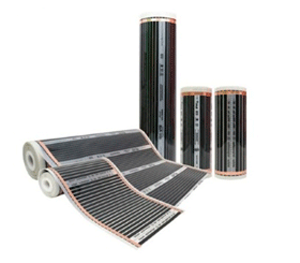
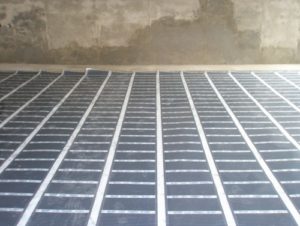
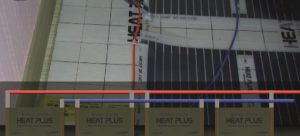
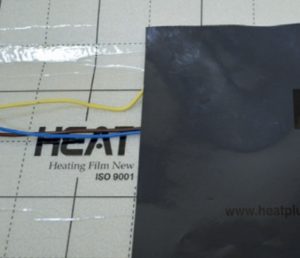
3. Cutting and placement of infrared film Heath Plus
Placing and cutting the film is carried out on the planned surface and fixed with tape. The film is placed with the logo upward, so that the text is read.
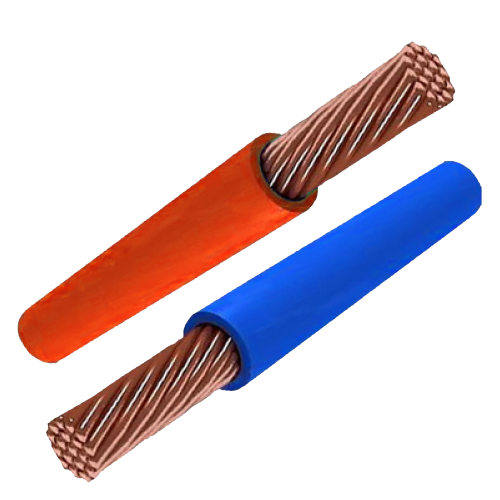
The maximum permissible length of one strip of a meter-wide film of standard power in 220 W is 6 meters. This length is dictated by the maximum load on the copper film of the film.
Films can be stacked back to back or at a distance from each other.
Imposition of films is not allowed.
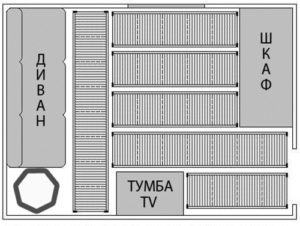
It is not recommended to lay under stationary furniture, which closes the heat dissipation.
For use under linoleum, infrared film Heat Plus Standart fits perfectly. This film fully meets the requirements for mechanical strength and temperature loads for use under linoleum.
If at the design stage it is not clear where the stationary overall furniture will be located, which locks the heat or there are increased strength requirements for the Heath Plus heating system, you should choose a Premium class film - Heat Plus Premium.
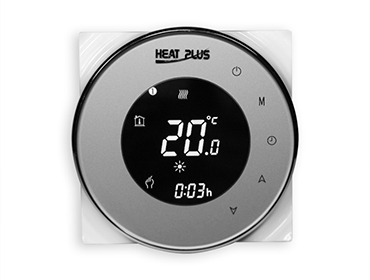
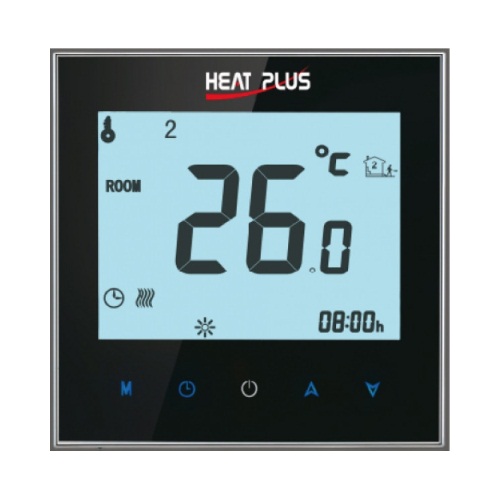
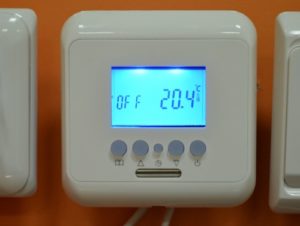
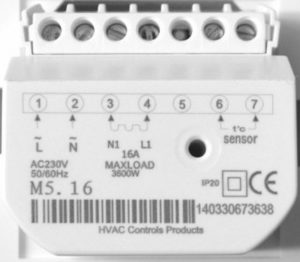
4. Preparation of the place for the thermostat
To control the temperature and connect the film to the network, a thermostat is used. At this stage, it is necessary to prepare the location of the thermostat on the wall
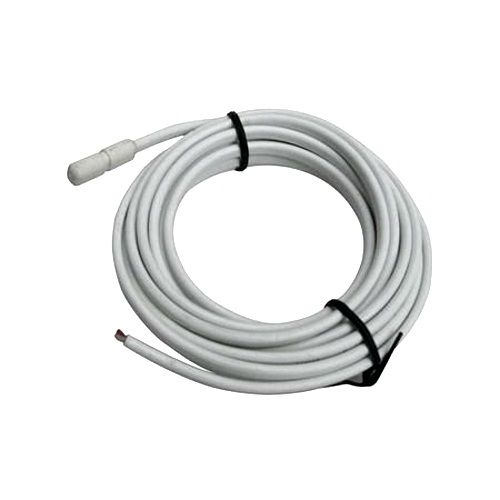
It is recommended to place the thermostat in the vicinity of the existing wiring or outlet for easy connection. Since the length of the wire of the remote temperature sensor is 2-3 meters - the thermostat should be placed at a height of up to 1.5 meters from the floor.
Depending on the type of the thermostat, the installation can be carried out either in a junction box (undercutter - internal installation) or simply with bolts (on the mounting plate - external installation).
To control the heating system, it is recommended to use temperature controllers with the possibility of programming. This function of the thermostat allows you to reduce the cost of the heating system by controlling the temperature in time: turning off the film at a time when there is no need for heating and the system is activated in advance before the people arrive in the heated room.

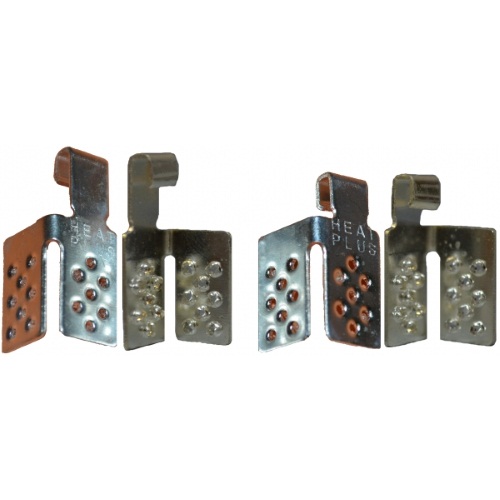
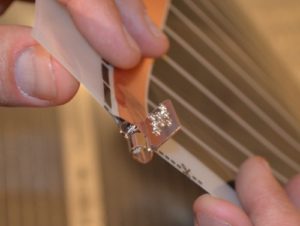
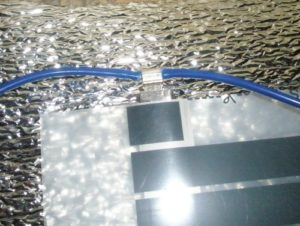
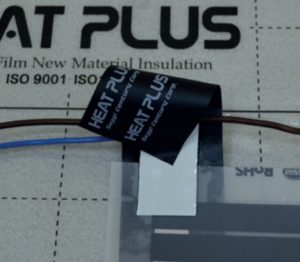
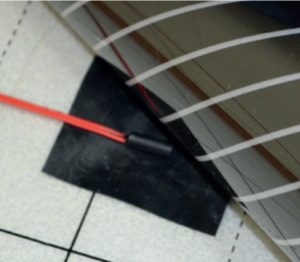
5. Connecting the film with clips
To connect the film to the thermoregulator and the network, it is necessary to create places for electrical contact. For this, special clip-connectors are used. They are mounted on a copper bus and crimped using a hand press or pliers.
When installing the clip, it is necessary to slightly layer the film in the area of the copper bus (use a knife to press the film). One blade of the clip is installed inside the film on the copper bus. The second blade blades the film from above to fix the clip.
To simplify the subsequent connection of the connector to the wires, the clip must be installed perpendicularly to the end of the film with the hook upwards.
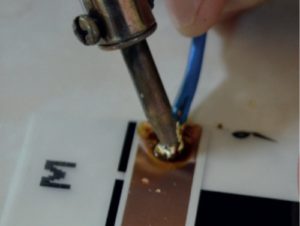
Another option for creating an electrical contact is soldering the wire to the copper film of the film.
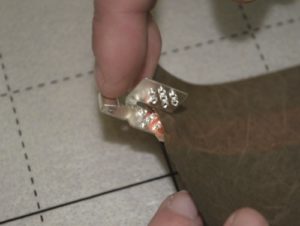

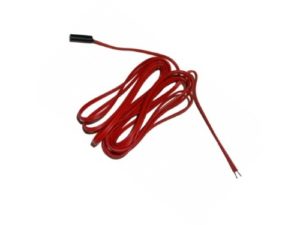
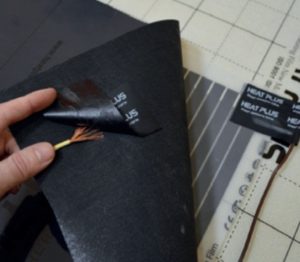
6. Connecting wires to film
Wires are connected to the film by means of clips or by soldering.
It is necessary to clean the wire from insulation with a stripper or other tool.
For connection with clips, it is necessary to make a loop around the hook of the clip and clamp it with a hand press.
To connect wires by soldering, it is necessary to carefully remove the layer of lamination over the copper bus with a soldering iron and a knife, without damaging the tire itself. After that, solder the wire to the copper bus.
Connecting the film strips to each other is carried out according to the scheme of parallel connection.
Wires are output to connect to the thermostat.
It is important to remember that the wire has a load limit:
PV3-1,5 - maximum load 15 A (3,3 kW).
PV2-1,5 - maximum load 25 A (5.5 kW).
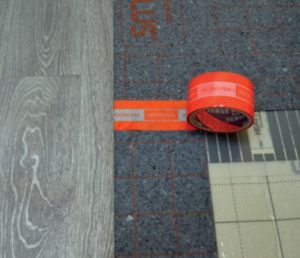
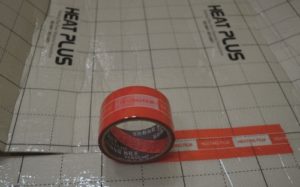
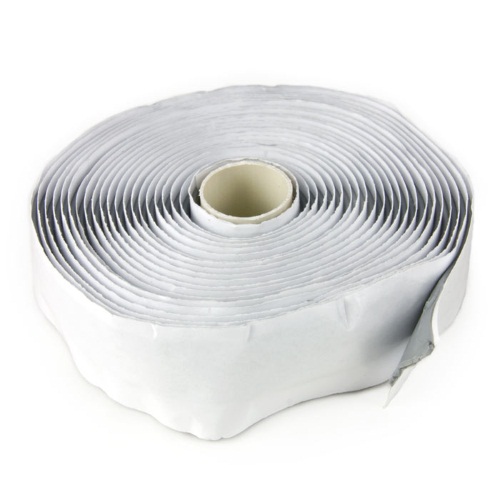
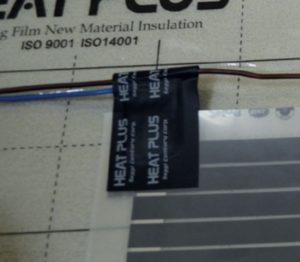
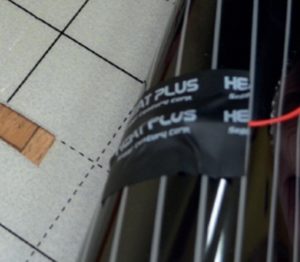
7. Insulation with butyl tape
Using TM Heat Plus butyl tape, the joints, contact clips, solder points and unused ends of copper conductor bars are carefully insulated.
For insulation, butyl tape is cut into pieces, 3-5 cm wide.
Due to its special thermal properties and composition, butyl tape with the first heating by the heat of the emitted film becomes amorphous and slightly spreads over the surface, thus achieving an additional insulating and sealing effect.
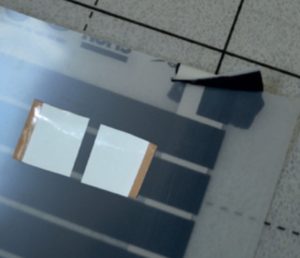
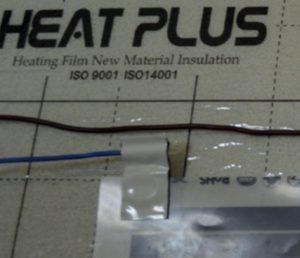

8. Heat-insulating insulation Heat Plus
On top of butyl tape for fixing and additional mechanical protection is glued Insulating heat-resistant tape Heat Plus.
Insulating tape Heath Plus not only serves as a reliable and qualitative fixative but also creates an additional insulating layer.
With proper and high-quality insulation with insulating and butyl tapes, the film becomes hermetically sealed. Thus, the heating system Heath Plus is not afraid of increased humidity or flooding of the floor.


9. Connecting the thermostat and output of the temperature sensor
The thermostat must be connected to the temperature sensor, the film and the network according to the manufacturer's instructions (included in the kit).
The thermosensor is fixed with an insulating tape on the underside of the infrared film
To avoid mechanical damage to the head of the temperature sensor, it is necessary to make a groove in the base of the floor and the substrate at a depth of 5 mm.

10. Laying of the grounding layer.
For rooms with high humidity or the presence of metal structures, as well as with increased safety requirements, it is recommended to lay a special protective grounding layer E-dero.
It is laid on top of the heating elements and connected to a common ground wire.
11. Laying of the protective heat distribution layer
Under the flexible flexible vinyl coatings (linoleum, carpet, etc.), a special protective heat-distributing layer E-stone is laid.
It is laid on top of the infrared film (and the grounding layer) on the entire floor area, for uniform heat distribution radiated by the film and additional mechanical protection.
Laying this layer significantly increases the economy of the heating system by increasing the inertial layer of the floor covering.
12. Checking the operation of the heating system
Before laying the finish coat, you need to check the Heath Plus heating system and the operation of all the elements.
Turn on the system for 15-20 minutes and make sure it works correctly.

13. Laying of the finish coat